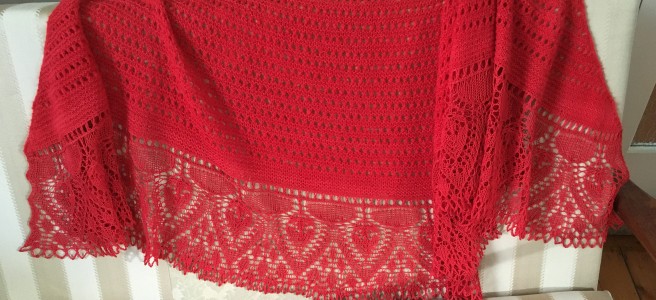
Last winter I decided I wanted a brilliant red shawl. Just brightest red, no varigation. I did want some interest in the knitting though. I’d also been returning again and again to a pattern called Adularia which has a plain garter stitch body in wool and a deep, very pretty lace trim meant to be done in silk. I put those two thoughts together.
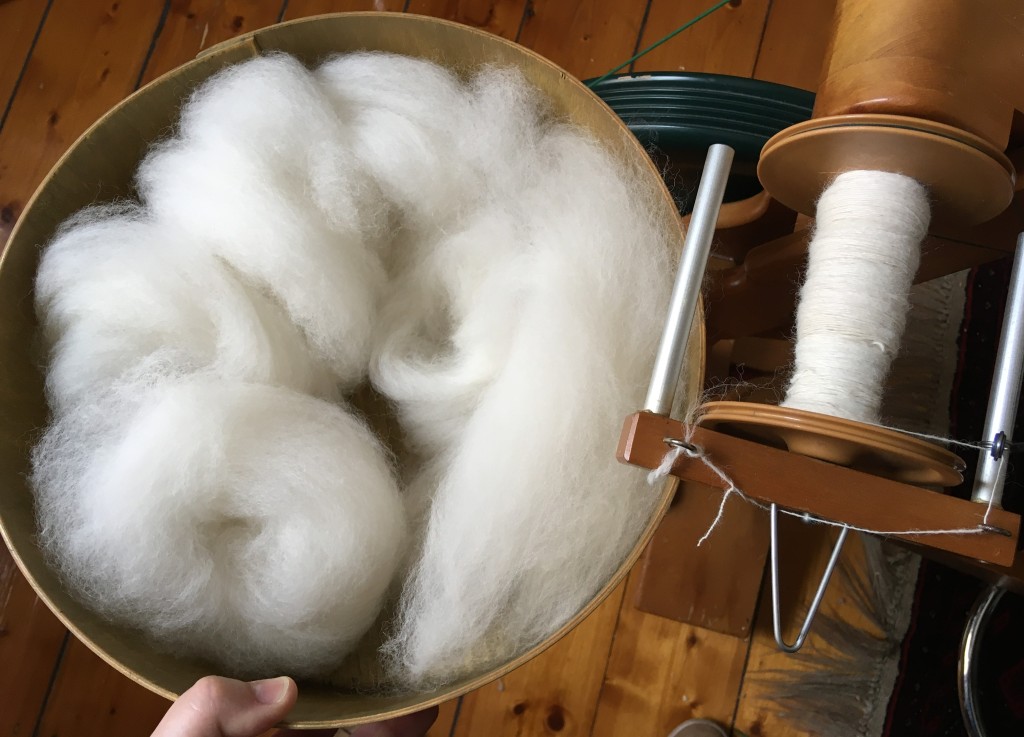
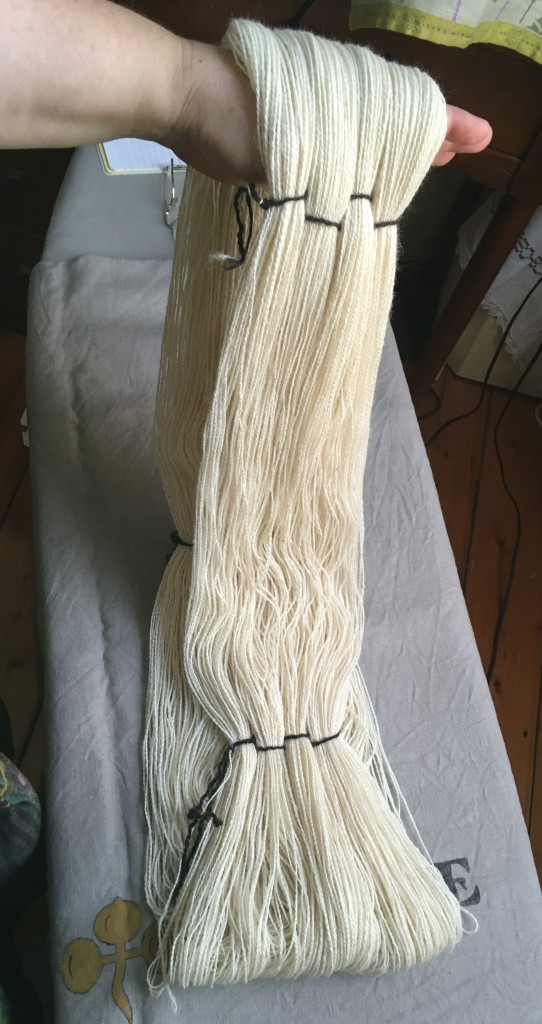
I had ~170g of palest fawn alpaca fleece which I washed, combed and spun, trying for a 4ply finished equivalent. This was back in January.
It came out beautifully and on target straight off the wheel, though it did bloom to become a bit boofier on wet finishing.
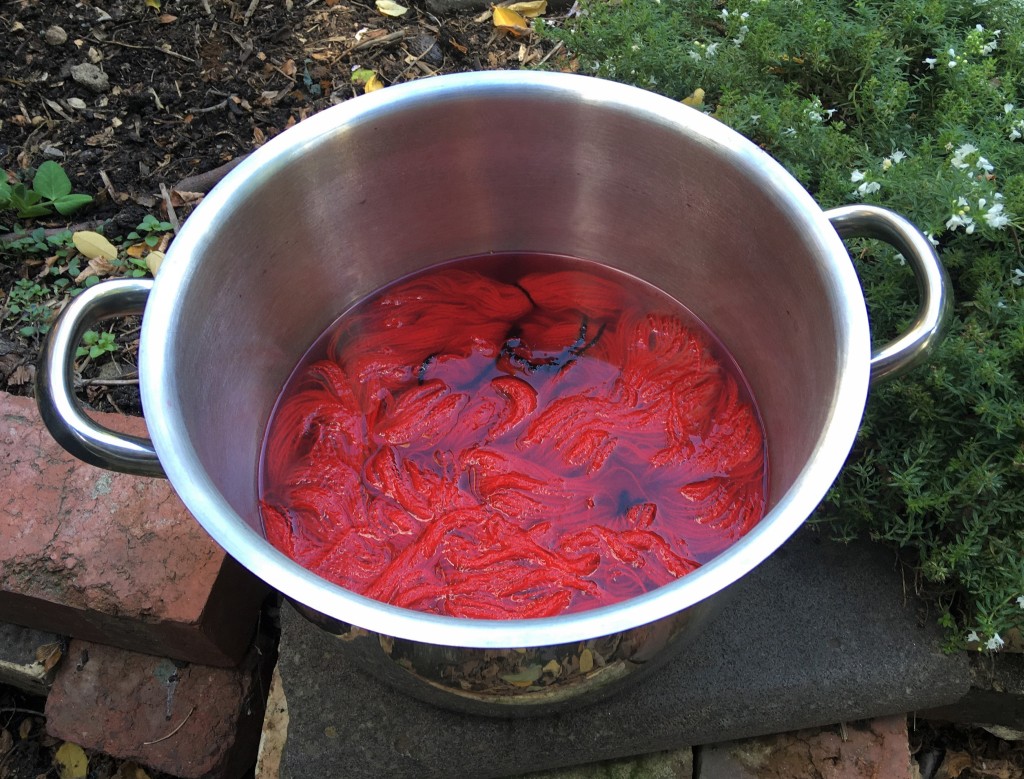
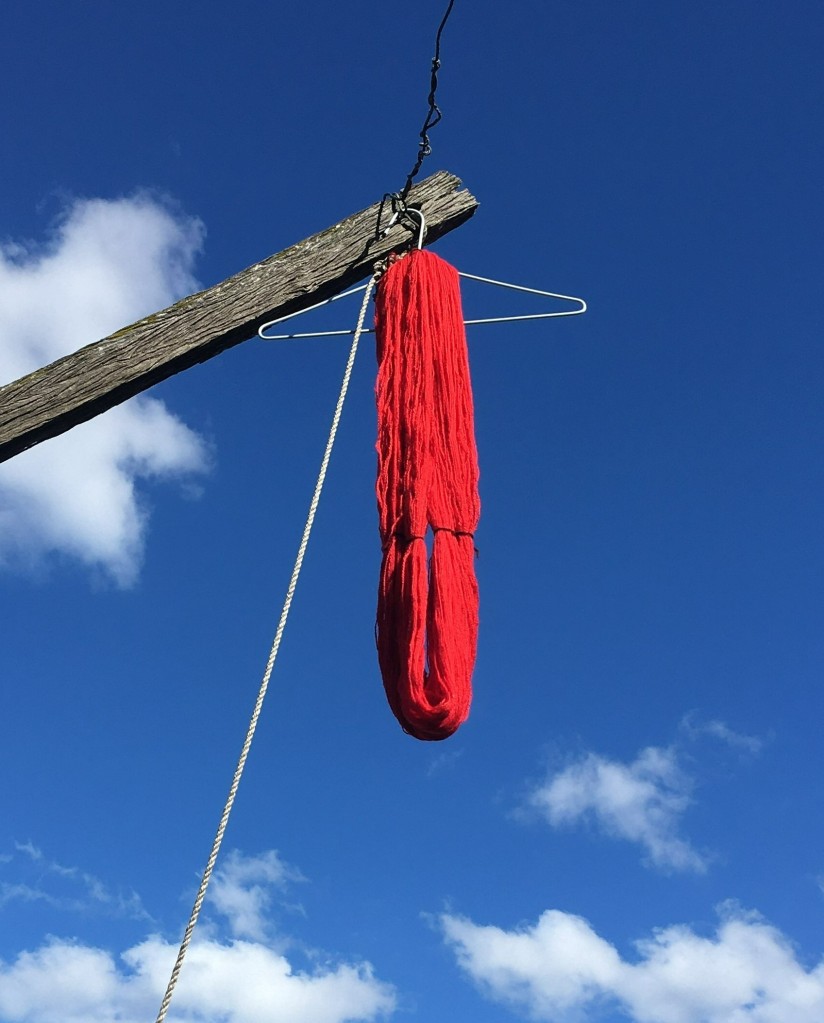
I dyed it with Landscapes dye “Desert Pea” which came out really well.
So, so bright and not blue tinted at all which is what I wanted. This is “my” red! It was such a marvellous contrast to the brilliant blue sky on the day.
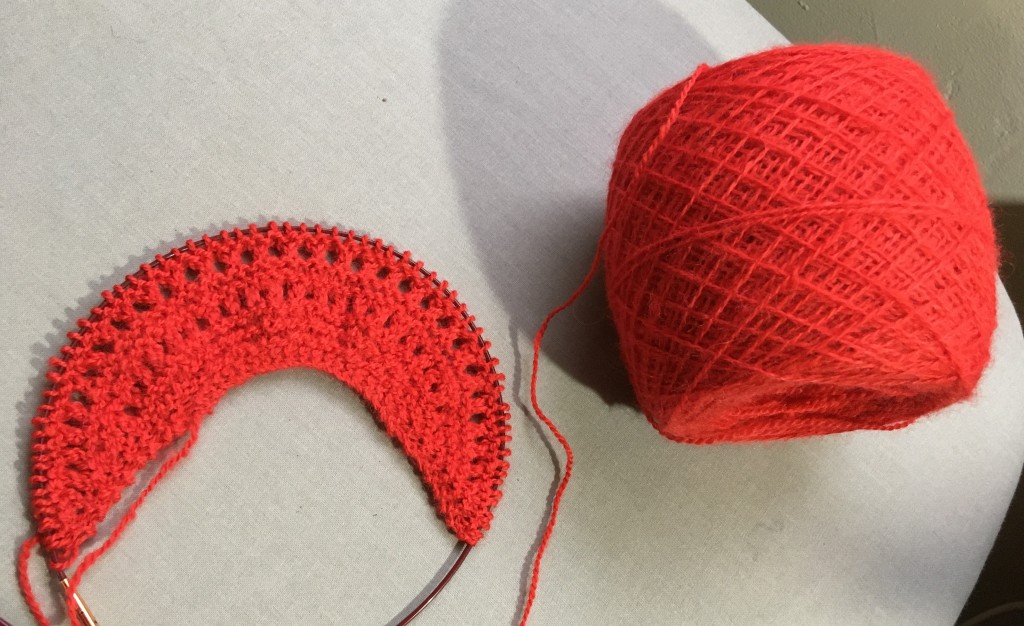
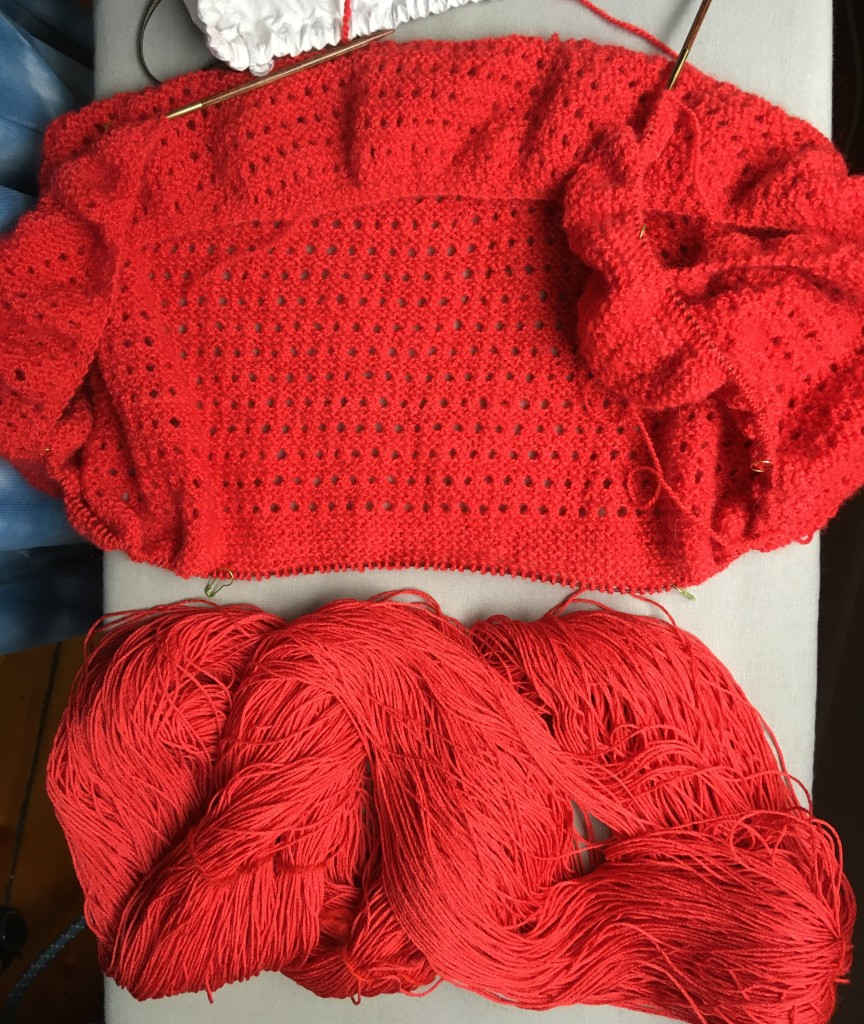
Knitting beginnings. I didn’t fancy doing so much utterly plain garter stitch. So I introduced a row of yarn over k2tog holes every sixth row.
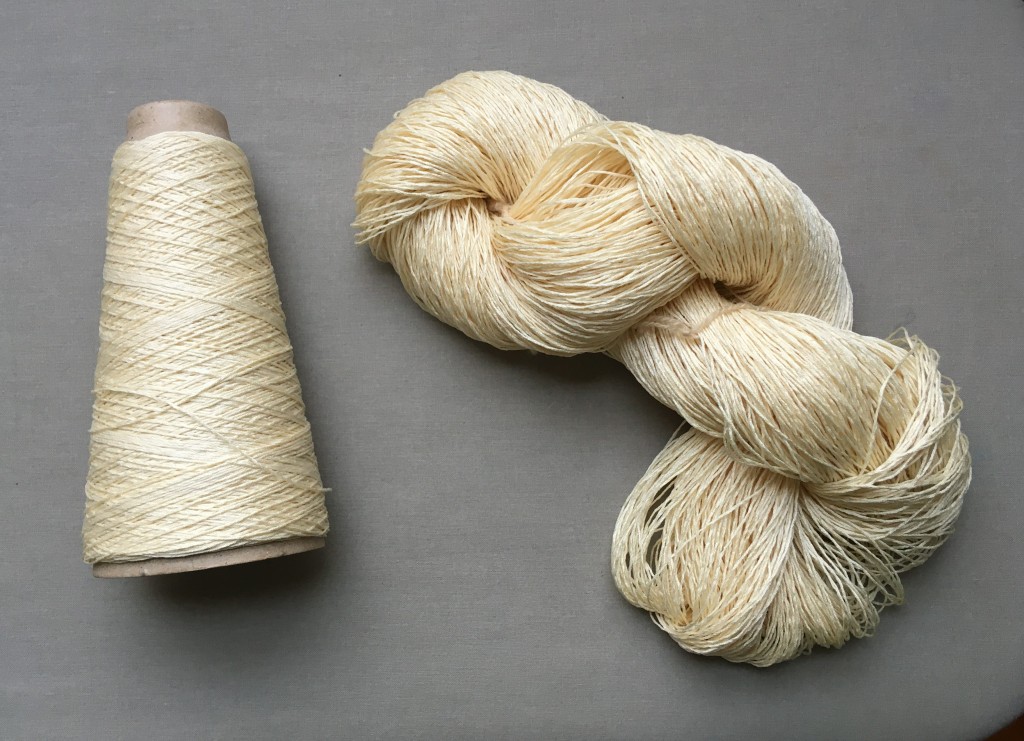
The silk was purchased from Colourmart, which is a dangerous mill end online shop based in the UK. I skeined off 116g (exact weight not important, I just wanted to make sure I had enough), scoured it and dyed it the same full strength Desert Pea as the alpaca. That came out a kind of dark coral pink, so I overdyed with food colours and very happily got something pretty close to an exact match.
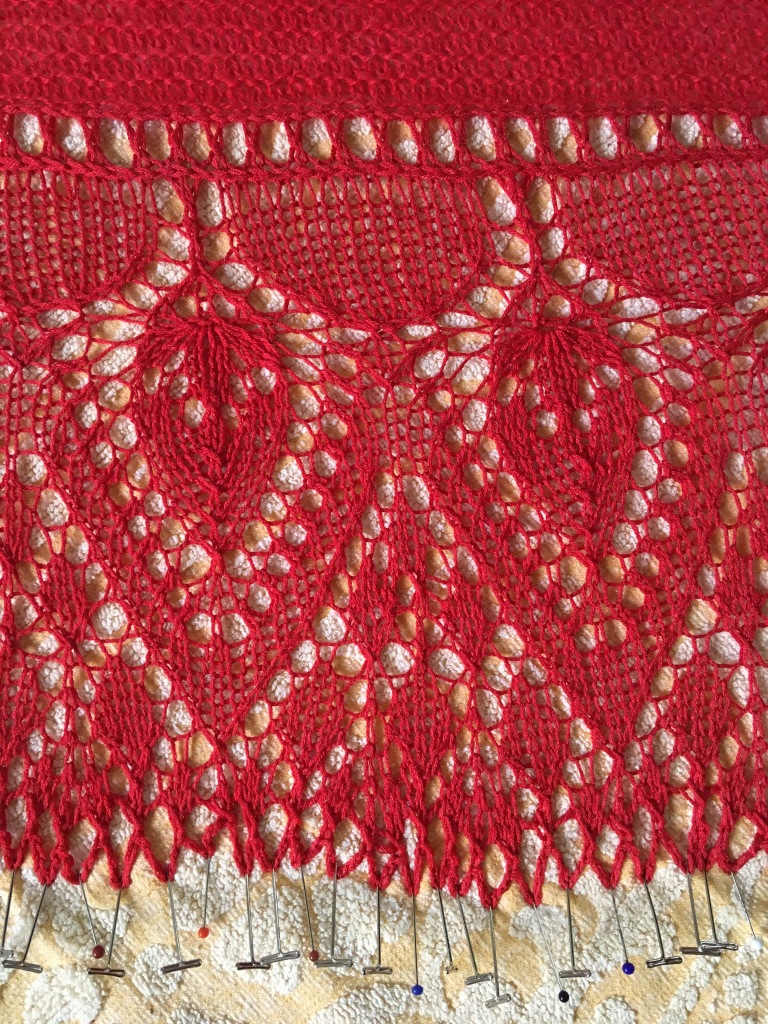
Alpaca at the top, silk below.
Here she is pinned out for blocking
Such pretty lace and oh so many pinsThe cast off involved a whole lot of little segments of crochet chain. I don’t really crochet, but I can manage bits of chain. I’ve done lots for provisional cast ons before but this might be my first crochet that has stayed in a finished garment.
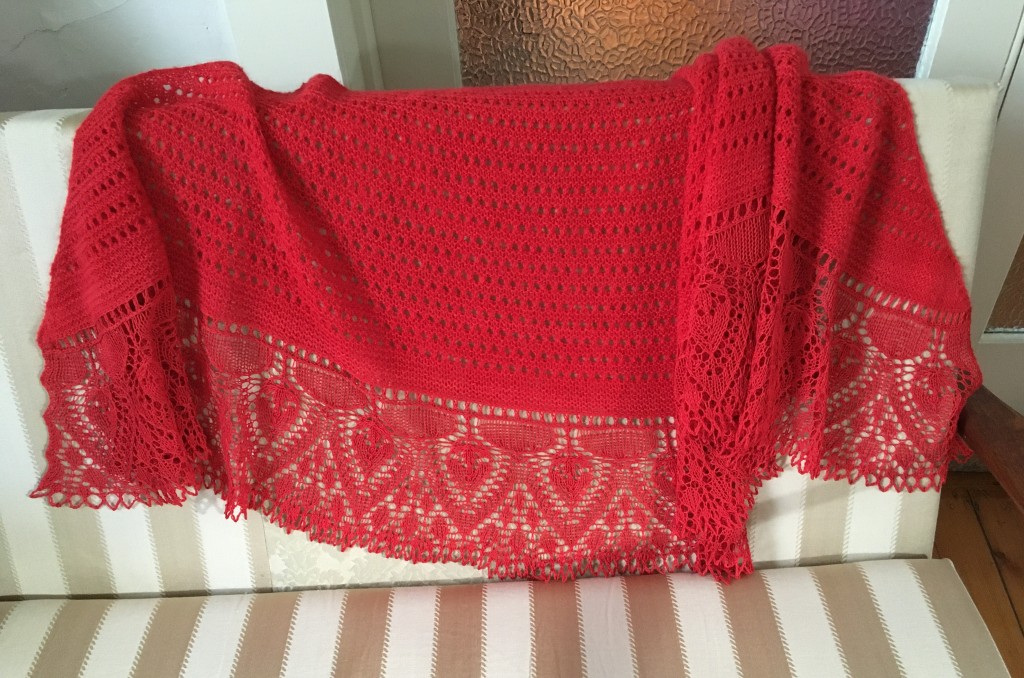
Done. I’m pretty pleased with it. About a month’s worth of spinning, some dyeing and something over two months to knit. Ideally the alpaca would have been a little finer. I had to go up a needle size to get a fabric that wasn’t too close, but that is really a bit loose for the silk. I still really like it though.
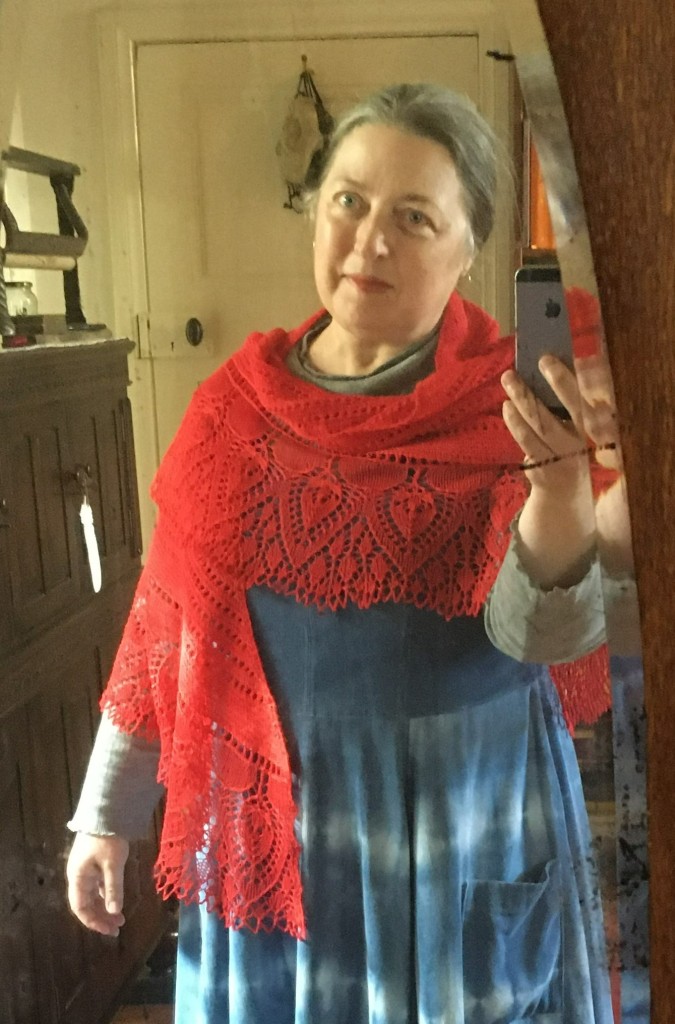
On me. It really is my red!
Hmm. I should take those cloth masks down and put them away somewhere. I’ve moved on to N95s.
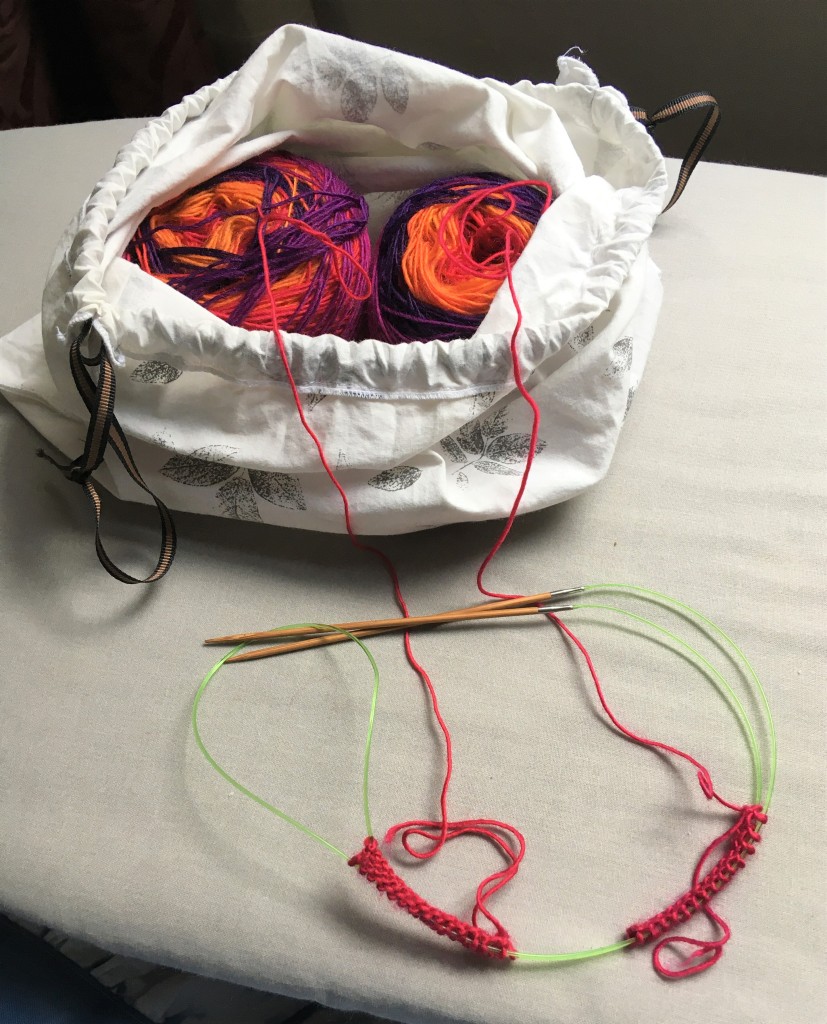
I needed a travel project. Sock knitting is great for that. Very compact, time hungry, mostly doesn’t need a pattern these days. I had some yarn that I was keen to knit but not in my colours. Orange shading into purples. I posted a picture and a friend who loves these colours had a big squee over the yarn. So of course I knitted them for her. To add interest to a simple plain knit sock, I decided to have my first go at knitting two socks at once, by the circular needle method, not the terrifying alternating stitch method. I had to make a special trip to find the right needle but it was worth it. Despite the beautiful colours I nearly “died of boredom” in the latter stages of the knitting.
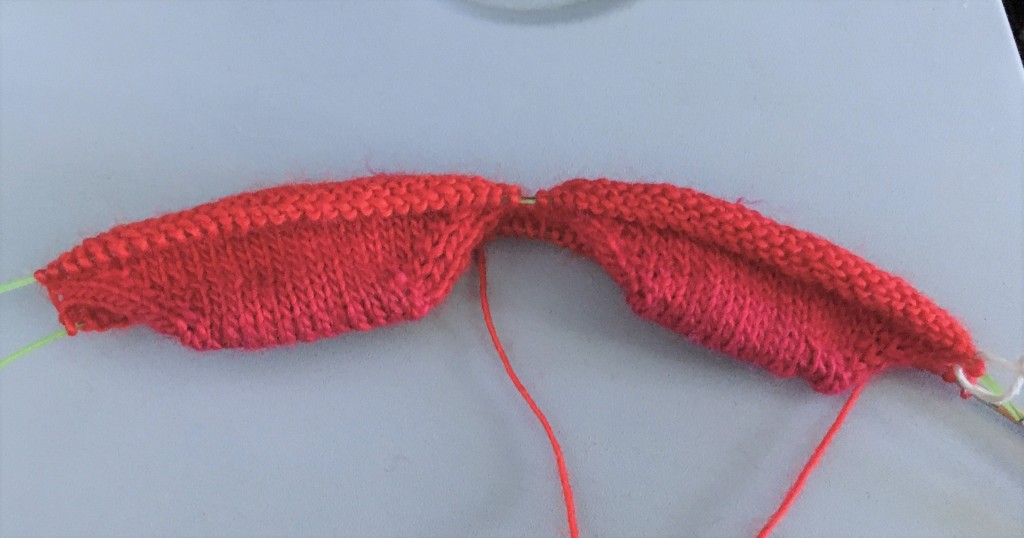
I managed to knit the toes and only the toes on the aeroplane. That’s the tray table grey rather than the ironing board grey that you usually see.
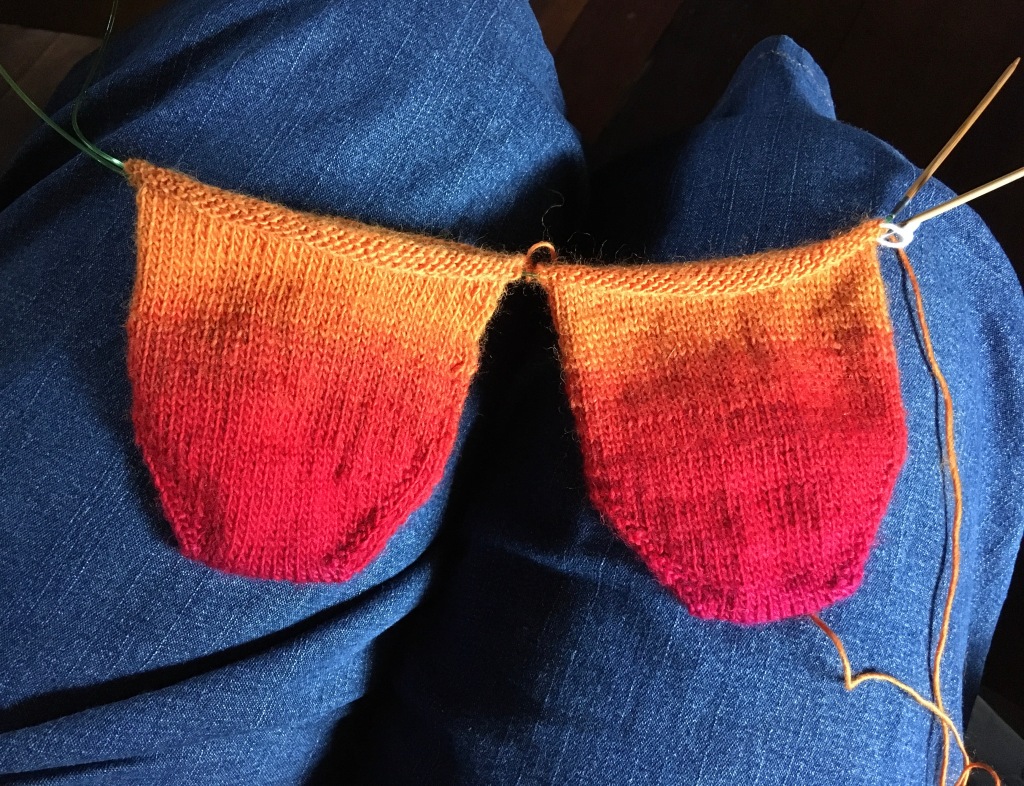
Another progress pic just because. Oh, and because this is the only pic that captures the pink glow at the tips of the toes.
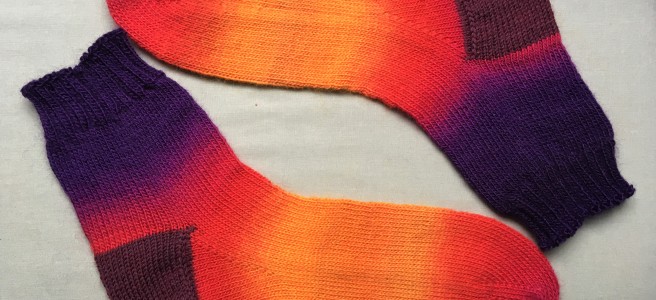
and the finished socks. Such a beautiful long colour gradient that the camera has not quite captured. It’s prettier than this in real life. I believe the yarn is Schoppelwolle Zauberballe but I had it unlabelled as a stash gift from a friend. I used a different yarn for the heels so as to not interrupt the gradient.
These have been delivered to my friend and she loves them to look at, but I don’t yet know if they fit. Fingers crossed.
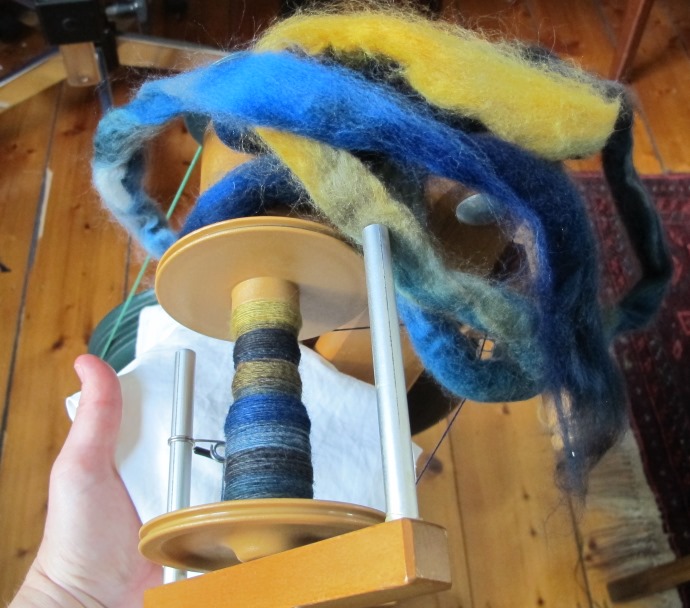
Early last year, I realised that I had not yet tried spinning fleece that was dyed with colour changes across the sliver rather than parallel. In between lockdowns, in May I was able to get to a couple of fibre markets and bought 100g of lovely coloured merino fluff hand dyed by “Ripples on the Pond” in “Stormy Mountain” colourway. In August I started spinning it.
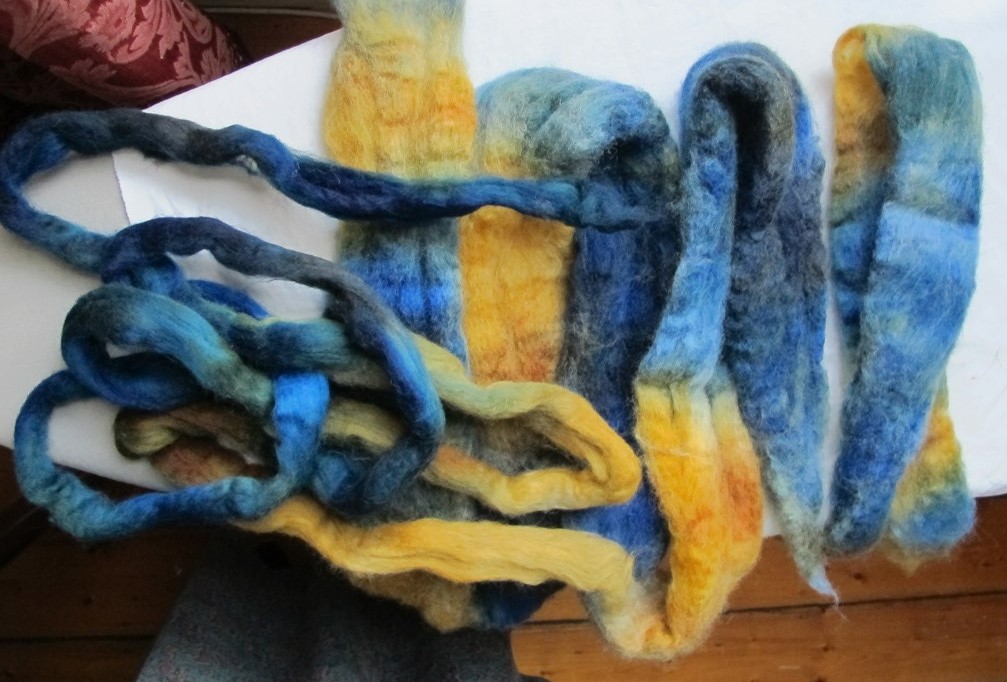
I enjoyed the extra interest from the different colours as they appeared so much that I thought 100g wasn’t nearly enough fun. So I decided to try dyeing some of the white wool I had on hand to match as well as I could manage, or at least coordinate. The target was enough yarn to make a cardigan. For this, I learned to dye in the microwave after ordering some Landscape brand dyes, and then some more colours when I realised I needed different blues. I used the only white merino I had first off, about 100g. Then moved on to the kilo of ABP corriedale/suri alpaca blend that I hadn’t yet touched. Dyeing in 100g lots. Below is the best match I managed. The narrow sliver is the original, the wider fluffier stuff is corrie/suri dyed by me.
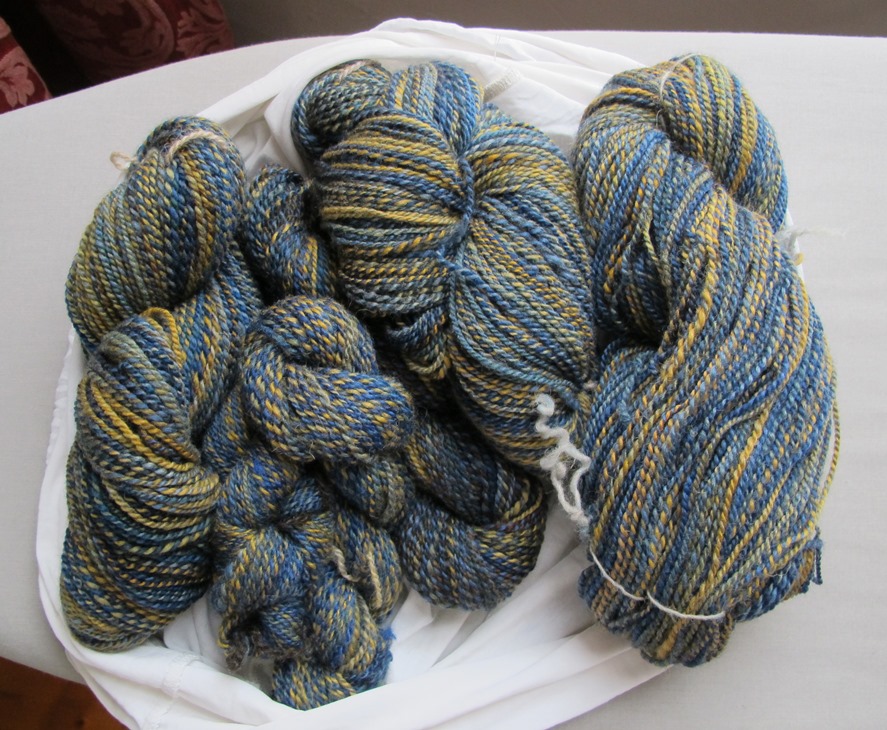
Some of the batches were paler by accident, some were darker by intention. Here is the majority of the spun yarn. Not all of it, I balled this lot up and started knitting before I dyed and spun the last of the wool needed.
Using two types of fibre was for two reasons. Firstly that I wanted to consume fluff I already had rather than buying more. The other thought was that the corrie/suri might be harder wearing so I would use it in the sections that tend to wear out or pill. For me that is where the inner upper arm rubs on the side of the bust and the tummy section where I lean on things; bench tops, tables etc. The merino is softer on the skin so I would put that at the neckline and the lower sleeves where skin contact is more likely. The multicoloured dyeing would hopefully mask the visible difference in the two types of fibre.
I knitted one pattern top down as far as the armholes and then found it really didn’t fit.
So I wailed a little, waited a few days and then pulled it back. The second pattern worked much better. Also top down but raglan:
This pattern is “Albini” by Orlane Sucche. It is designed for 8ply yarn. My yarn is closer to 5ply so I did a bunch of calculations based on gauge. I’ve knitted a smaller size than my bust measurement but with a full bust adjustment that I made up. There is a line of increases forming a dart equivalent running from under the collar to the fullest point to give extra width then some short rows to give the needed extra length. It worked really well thankfully.
The colour placement is almost completely random. I did choose the lightest ball of corrie/suri for the upper body and I deliberately dyed the last 50g lot darker than the rest when it turned out I needed a bit more to finish off the body. At a couple of points I joined on from a specific end of the next ball to give a smoother colour transition. Other than that, the colours lie where they landed. I like the effect.
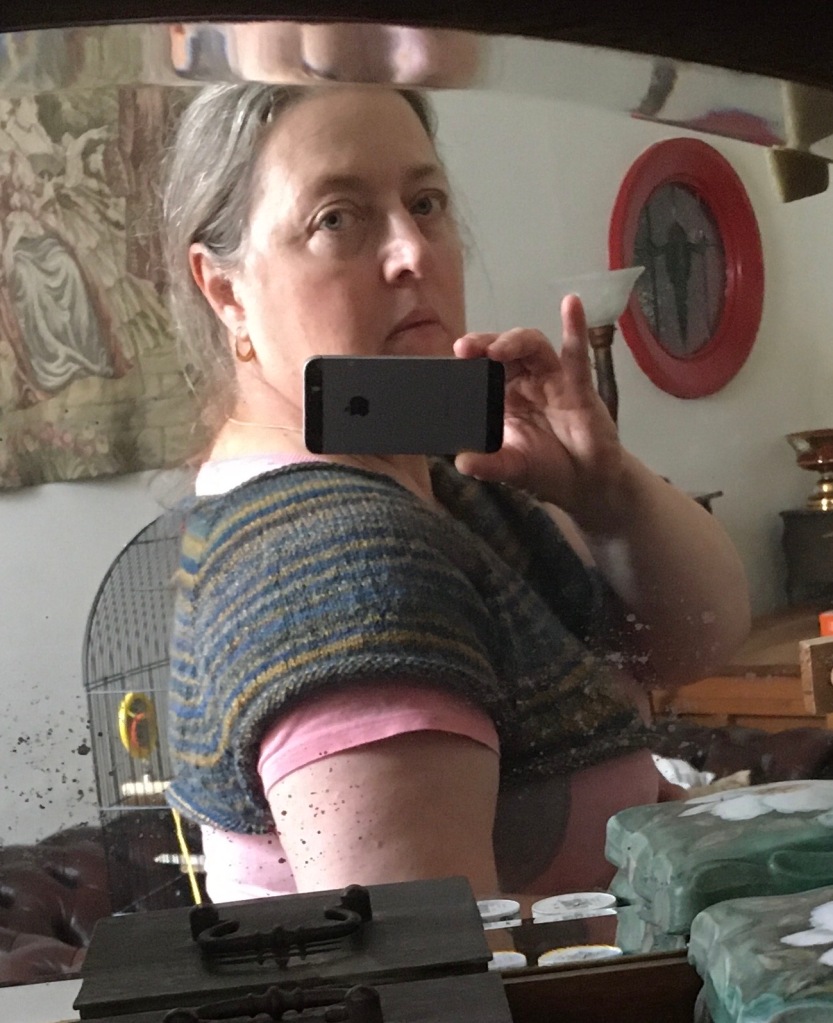
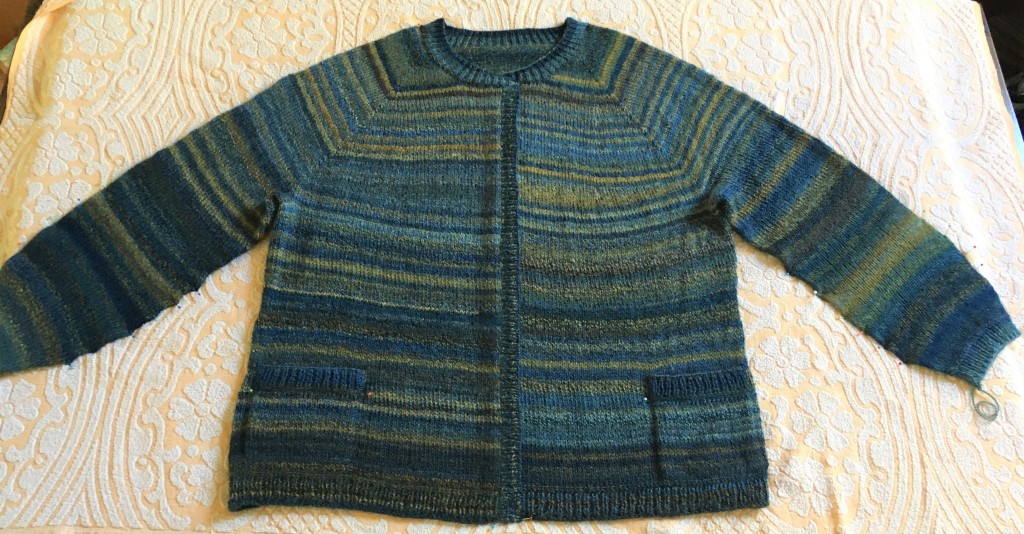
I won’t bore you with the rest of the progress shots, we will skip to the end. Here it is with the knitting finished but before sewing up the pockets, blocking and dealing with all the ends.
Laid out to for blocking after a nice warm bath. Mostly I’ve just patted it into shape. The only tension is on the forearms which were a bit tighter than I wanted despite being knitted wider than the pattern (one sleeve knitted twice) and a few edges like the neckline and pocket edges so they would sit right. I was amazed at the change in handle of the fabric after blocking even without tension. It is so much more fluid now. This fluidity is probably enhanced by the long staple suri.
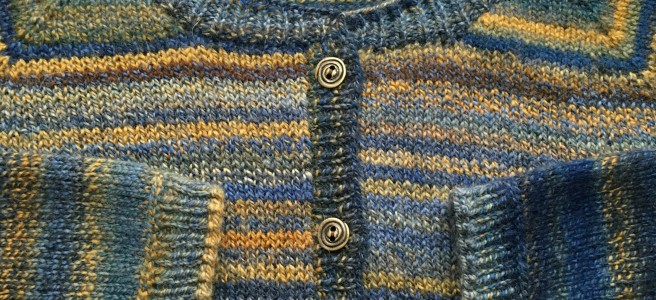
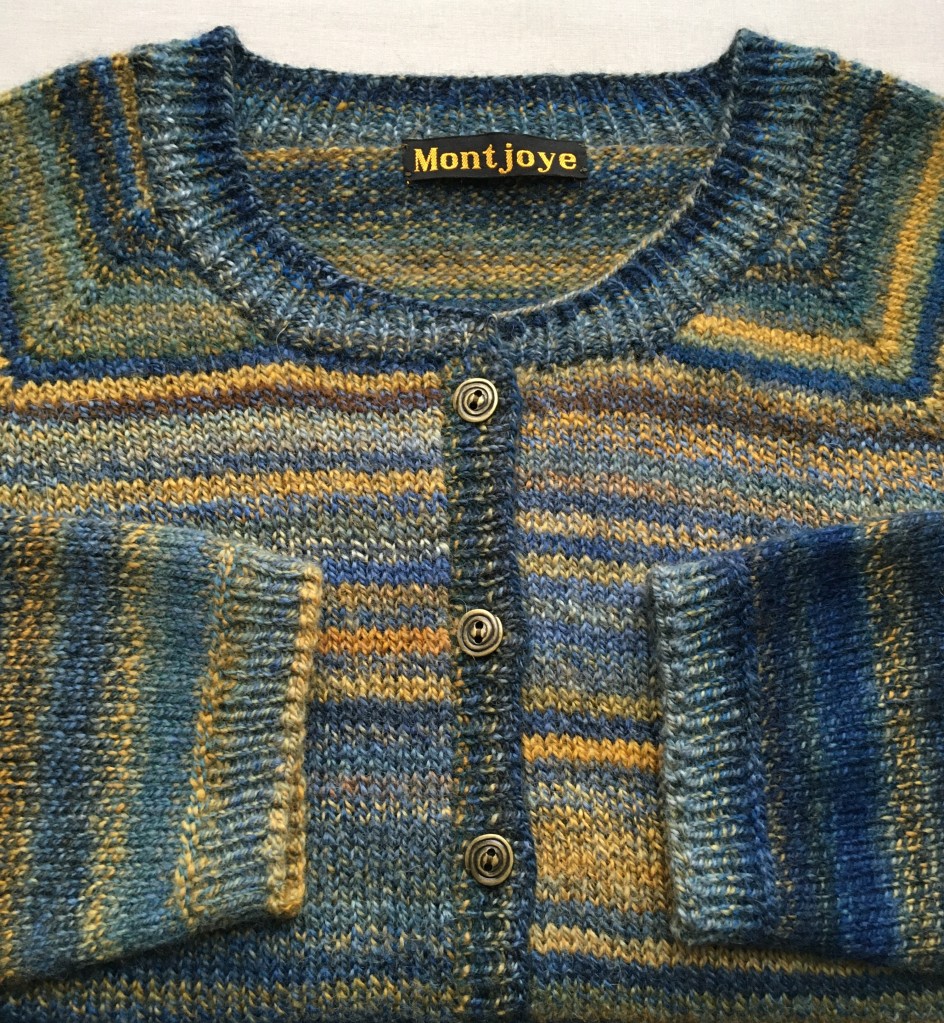
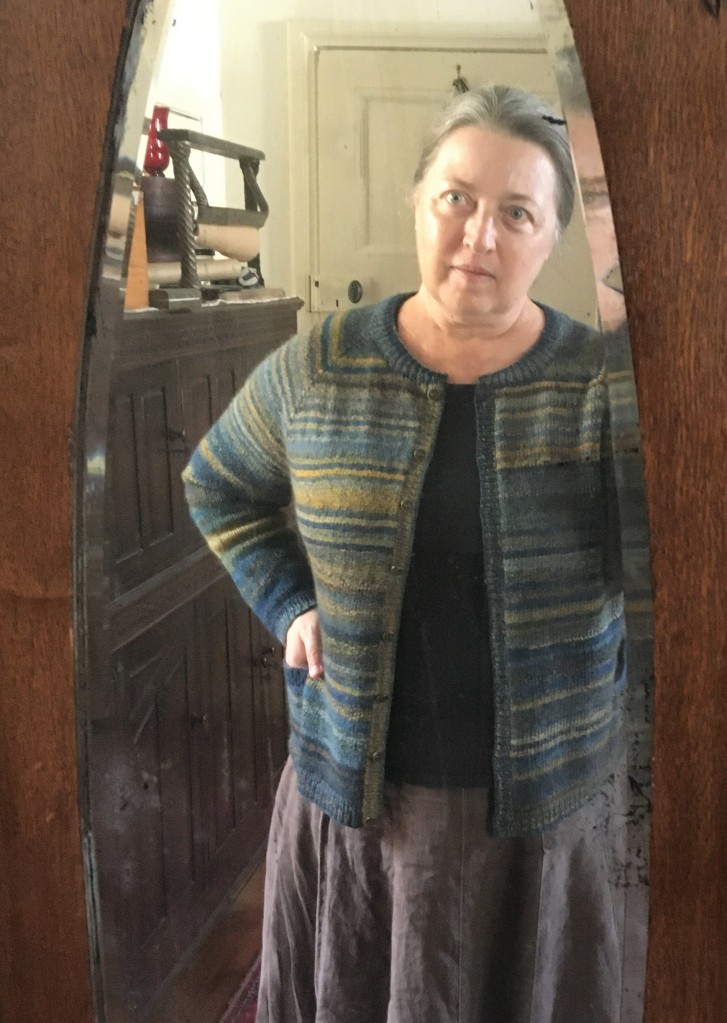
Here she is fully finished with label and all. There are a bunch of new knitting things for me in this too. First knitted pockets, first lateral braid stitch and a new kind of buttonhole.
A few friends said this reminded them of Van Gogh’s “Starry Night” painting. I was delighted to find spiral buttons in stash to further that association.
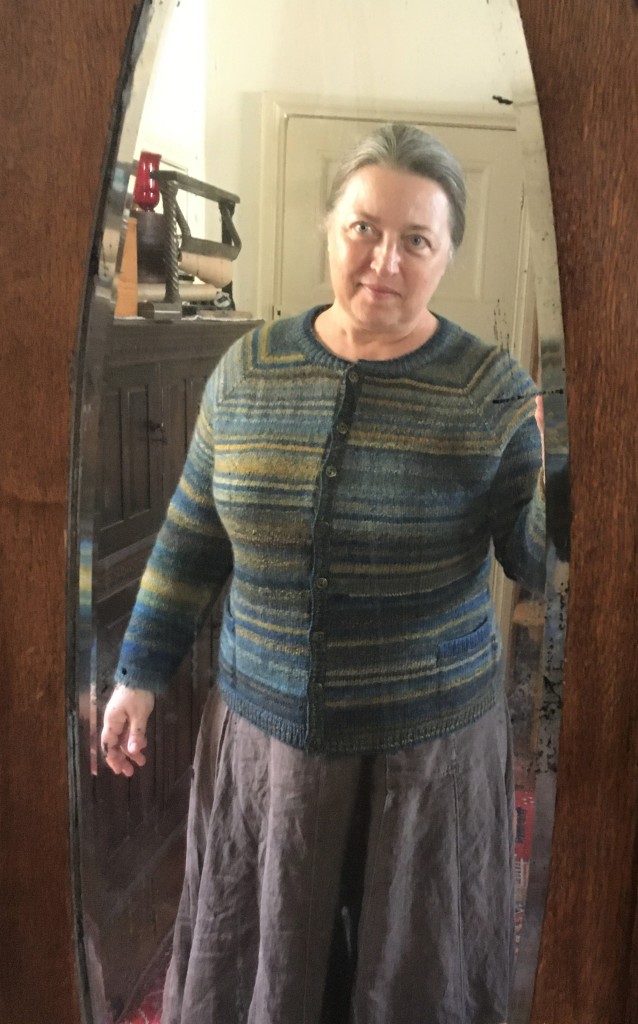
I am so very pleased with the fit. Look, even fully buttoned it fits without strain. That never happens with ready to wear garments on me.
I’m much more likely to wear it open or with only a few buttons done up
Back in May, in between lockdowns, a friend and I were delighted to be able to go to the Coburg Yarn and Craft Market. We had a lovely time looking at things and both came away with 200g of what we called “Bog Witch Fluff”. This was roving of black alpaca blended with many colours of silk by Wool 2 Yarn.
Once this was spun up, I dubbed mine “Goth Tweed”. Lovely stuff but very hard to photograph well.
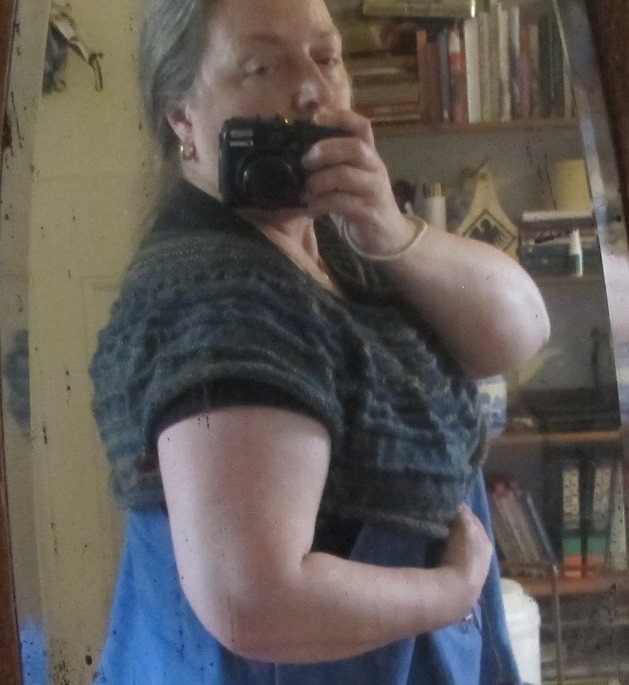
After much deliberation I decided to knit it up using Suzie Sparkles’ “Aurora Lace Capelet” pattern. My yarn was only laceweight in parts so I went up a needle size to 4.5mm. This was a fun knit and a very nicely written pattern.
I added in one extra repeat of chart two for more length. I wanted the finished thing to go past my elbows. This meant I didn’t quite have enough yarn, so I added in a little black baby llama handspun to finish the border. To save yarn and give a little sparkle I added beads rather than knitting nupps. I bought the wrong size beads sadly. Too small! I persuaded them to work but it was a struggle and you can barely see them. This is the best photo I could manage. It shows the colours well too.
Here it is all pinned out for blocking in the sun
I found a delightful old button for the closure. Not sure if it’s glass or maybe jet? I gave it a scrub after this photo showed it was rather grubby. You get the grubby pic because I wasn’t able to get the camera to take one as nice later.
The finished thing folded to better capture the colours
Here it is on though the light is all wrong to see it properly. Happily it did turn out the length I was hoping after firm blocking.
Here are a couple of clearer shots of the garment taken selfie style with the phone.
I’m really pleased with it. For some reason, the fact that I’ve taken this from fluff to finished fancy thing in a few months has hit home and I’m feeling a bit clever.
I found myself in need of a pair of pot holders and I felt like doing a bit of simpler knitting. Realising that this was a good project to use some of my early handspinning made me even more keen.
Bits and pieces of handspun yarn dating back to 2015. I used some of this and added in a few other bits. Some I dyed blue, but I didn’t use the bluest yarn in the picture! .
I had a few goes at making up a pattern but wasn’t happy so that all got pulled back and instead I followed “Easy Pot Holders” by Junko Nakada. That went so much better. I started with a couple more stitches per side because my yarn was thinner than called for in the pattern. The neat two row colour arrangements are deliberate but the softer changes are random. Random they may be but I’m very happy with where those colours landed.
Then I popped them in with a load of laundry to felt so they would be thicker and better at insulating. A short and slightly nervous wait before I could see how they came out but I didn’t fancy felting them by hand. Happily they are fine and pretty much exactly what I wanted. Now to hope they don’t get eaten by moths. If I use them often they should be ok I think. The kitchen is about the lightest room in the house which clothes moths don’t like, and they haven’t eaten my woolen double ended pot holder that I made years ago.
A couple more pictures to show before and after sizing. They only shrank 10% in width which was less than I expected.
Mid last year as a curiosity, I ordered 100g of baby camel fleece blended 50:50 with silk from Fibre Arts Shed. It turned out to be beautiful stuff. Soft, shiny, slinky and lovely to spin.
It then took me over a year to find something to make with it. I found a cowl pattern I loved (Berilo cowl by Keka Guillén) but my yarn came out about 5ply/sport weight and the pattern was for light fingering. Besides, I didn’t have enough of it. Dilemma! After some grumpy stomping, I remembered that I had another 100g of commercially spun very fine laceweight yarn in the same blend, incidentally from the same seller. Ooo, could I make that work?
It looked like three strands of the fine yarn came close to matching the heavier handspun. So I swatched and yes, that works. The three strands is a little finer still but would work in the way I planned to combine it.
Then I pulled back the swatch and wound the fine yarn into three balls. Ready to go.
I figured that working with a slightly larger needle size would still work and I am not size tiny. My plan was to knit the fancy lower border in the handspun, then introduce the finer yarn worked three together and in alternating rows with the handspun, and finish with the finer yarn after the handspun ran out. This did in fact work well.
Here are the beginnings
and the whole thing straight off the needles. I messed with the pattern a bit to shorten it and make for a sharper angle of decrease in circumference. I am not blessed with a long neck. I also reduced needle sizes as I got to the last few sections.
and here it is pinned out to block.
I had quite a lot of the fine yarn left and it occurred to me that if the weather is cold enough for me to wear this, then I would want to wear a hat too and wouldn’t it be nice to have a matching one? I chose the “Burka Leaf Cap” by Lynette Meek. Again my yarn did not match the pattern, so size selection was difficult. I started with the small size on much larger needles, but at this point realised it was firmer on my head than I can tolerate. So I pulled it back and resumed with the medium size.
It’s an interesting design and a better choice for the soft drapey yarn than I realised. It’s lacey but almost entirely made of variations of rib. Lace within ribbing was a new thing for me. I didn’t block it so you just get one finished picture.
and the obligatory photo of them both on me.I’m pleased with them. They function well, look nice, feel nice and I’m quite proud of successfully stepping through the pattern challenges. Of course I have no idea when I’ll get to wear them. Spring is sproinging and we are still and again in lockdown.
I do like a silly hat and this is a very silly hat.
I’m sure I’ve said before that I’m enjoying working with colour in the cold, dim months. I had a bag of leftover 4ply merino yarn in gorgeous colours that I wanted to do something with. So I got them out and they kind of arranged themselves into a rainbow. A slightly unfortunately arranged rainbow.
I had also been thinking of making another stocking hat after having given mine away a few years ago. These two things could become one! I looked again at the colours and refined them down to a smaller selection, happily of very similar yarns. The grey is slinky superwash with 20% nylon. The rest are pure merino. All are lovely and soft to the touch. The green and red are the (nearly) yellow and orange previously overdyed for other projects.
When I started in, I wasn’t sure I would carry on. 4ply makes for many stitches. After I did the first few coloured bands I was hooked though.
I made up the pattern as I went along. I think I’d start with 6 fewer stitches and smaller needles but I managed to drag it in to fit quickly and neatly enough.
I do enjoy the way that bottom up knitted hats feel like they accelerate as you go. This has a 6 stitch reduction every eleven rows, or twelve rows nearer the end. So that acceleration was pretty slow, but still the later stages get kind of exciting.
And then it was done!
The reverse stocking stitch bands give it a bunch of structure and bounce. It almost sits up by itself.
I put a bead in the tip to keep it round. Said bead is really a reproduction medieval woolen button. I had spare and I thought it would stay put better than a shiny bead.
There is a lot of knitting and a lot of sproing in this hat. The two pictures below show it partially stretched out and then sprung back.
and of course there must be a pic of it modelled. I was concerned that it might be TOO silly but no, I love it.
I had been thinking it would be nice knitted up as the front of a vest. Turns out there was nearly enough for a whole vest. I got it into my head that I wanted the original colourway nearest my face, which made finding a pattern more difficult than it should have been. In the end I used a bottom up, seamed pattern (Inez by Emily Nora O’Neil) but made a bunch of changes. I started at the base of the neckline with a provisional cast on, knitted down or backwards for a bit to get a feel for how far the yarn would go.
I put this picture in because of all the ones I took, it shows the colours most accurately.
Then I went back and knitted the front shoulders, introducing some brown merino/alpaca handspun to make up the balance of the needed yarn. Then I returned to knitting backwards to finish the front, introducing the the second colourway and knitting the two in alternating two row blocks until the first ran out.
I changed the position of the body shaping from the side seams to two vertical lines below the bust points. I also widened the body from underarm level for better fit. The back was knitted in the more standard bottom up way. The third colourway got introduced when the plain second colourway matched the height it was in the front.
Eventually I finished both pieces and blocked them. Even after all the thinking and planning about colour placement, i’d do it differently if I was starting over, but this is appealing enough as is.
Then I got the seams sewn. All good. Then it was time to to the borders on the neckline and armholes. I had one attempt, failed and got scared of that. Roadblock hit in January, I put this away and knitted two whole projects before I felt brave enough to deal with it. Last Saturday i swore I’d not start another knitting project until this one was finished, and I wanted to knit, so I just had to do it. After all that procrastination and feeling offput, it wasn’t even that hard. I did all the borders yesterday afternoon and evening. The borders are quite minimal, just a thin line, but they serve well to smooth and stabilise the edges. I had been worried that the armholes were too deep, but the border sorted that problem out.
Here is a pic that shows how the brown hem and shoulders are worked to join to the coloured yarn in a way that looks like it was designed that way, which I suppose it was.
Here is the obligatory picture of it on me. I wasn’t in much of mood to smile at the camera but I do like my new vest really.
That’s one lot of handspun turned into a wearable thing. Now I get to embark on a new knitting project.
Back in early December last year, I decided to spin up some blended alpaca and silk tops that I had bought on a whim. I wanted something more than a standard 100g skein so I added in 60g of merino in lichen green and indigo blue left over from other projects.
I had a fancy to knit a lace shawl so I spun as fine as I could manage and over 5 weeks, produced 160g of approximately lace weight yarn. Really it was anywhere between cobweb and sport weight but primarily lace to light fingering weight. I was still pretty pleased with myself.
I liked the look of this but felt I might wear it more if I put it through a blue dyebath. So I did.
It was then saying “ocean” to me, so I went looking for patterns that also spoke of this. I settled on “Ocean Scarf” by Eunny Jang but had trouble getting the pattern. So frustrating! I persevered though and found the chart for the body of the shawl eventually. I knitted a couple of repeats of the main pattern and then reluctantly decided I wanted it wider, so I frogged it and started over with an extra motif. Yes, much better.
Yes that is a provisional cast on because I wanted to try my hand at a knitted on border. This was confusing for a bit but fine once I figured out how it worked. Very happy to have conquered another technique. I used a border called “Normandy lace” but expanded it to get a double zigzag to echo the main pattern.
Somehow I ended up in a very tight game of yarn chicken. I had kept records and calculated carefully but must have lost count somewhere. In an attempt to avoid having to reknit the last section, I swapped to slightly smaller needles halfway through the last border.
It was tense there in the last stages but I won!
Having thoroughly proven again that I enjoy lace knitting, I invested in a set of blocking wires which happily arrived a little before I finished. Here she is all pinned out, waiting for the afternoon sun.
I was so pleased with it that I couldn’t resist trying it out even before sewing in the ends. It has come out pretty much exactly the shape I wanted and i love the pattern.
I actually think of it as the Luidaeg shawl, but not everyone has read the Seanen McGuire’s October Daye books